Visual Studio Code* Dev
Develop using the Visual Studio Code app on Intel® Tiber™ AI Cloud. All you need is the app, a GitHub account, and the Remote Tunnels extension.
Prerequisites
GitHub* account
Remote Tunnel extension
Instructions
Open the Intel® Tiber™ AI Cloud console.
Click on Learning.
Select any Jupyter Notebook.
Click Launch Jupyter notebook.
Once in a Notebook, select File --> New --> Terminal.
From the Terminal, download, unzip, and execute Visual Studio Code* CLI.
curl -Lk 'https://code.visualstudio.com/sha/download?build=stable&os=cli-alpine-x64' --output vscode_cli.tar.gz

tar -xzf vscode_cli.tar.gz

./code tunnel --accept-server-license-terms
Tip
Only run the above command with flags the first time. Afterwards, run
./code tunnelUpon successful execution, your Terminal should resemble the screen below.

Visit URL displayed and grant access
Note
You can use a browser, but the app won't have the same level of functionality.
In Device Activation, enter the code. Then follow the prompts.
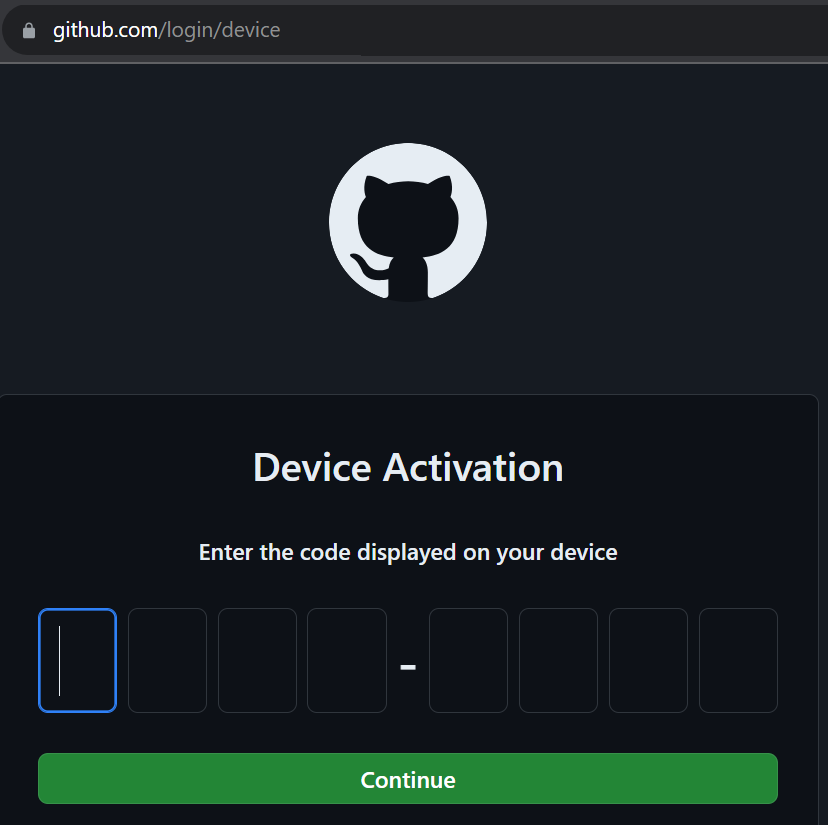
Device Activation

Congratulations
After successful authentication, create a name for your tunnel. Your Terminal should prompt: “What would you like to call this machine?”
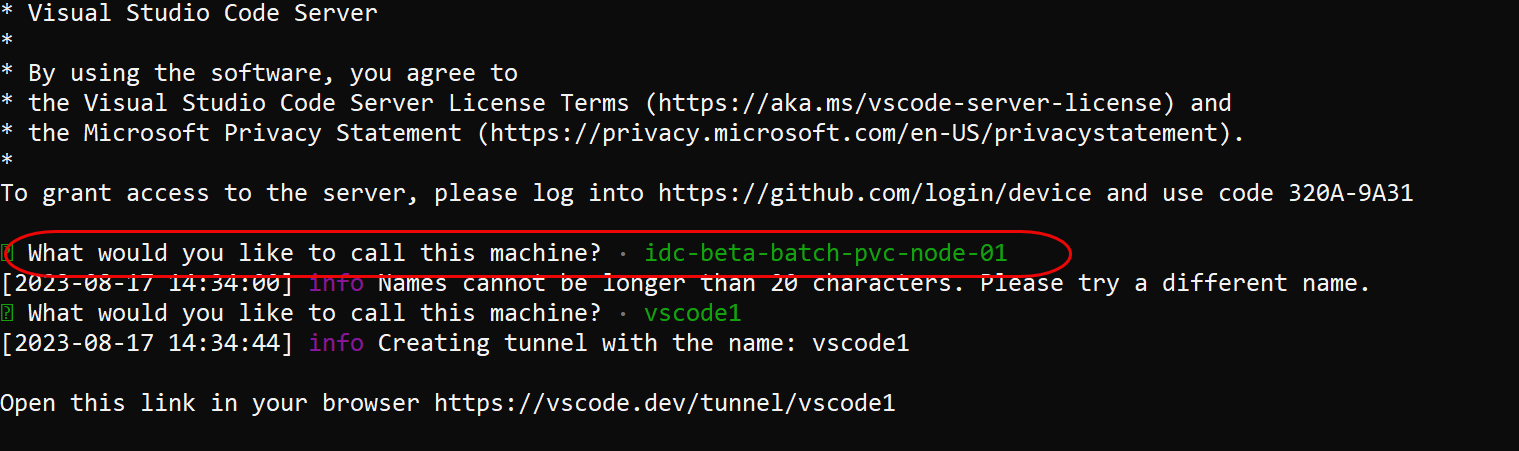
Name your Tunnel
Note
You can name the tunnel anything. We recommend keeping the name short.
Launch the Visual Studio Code app locally. If you do not have the extension Remote Tunnels, install it.
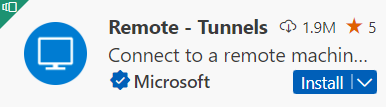
Remote Tunnels extension
To install Remote Tunnels, select the Extensions icon at left.
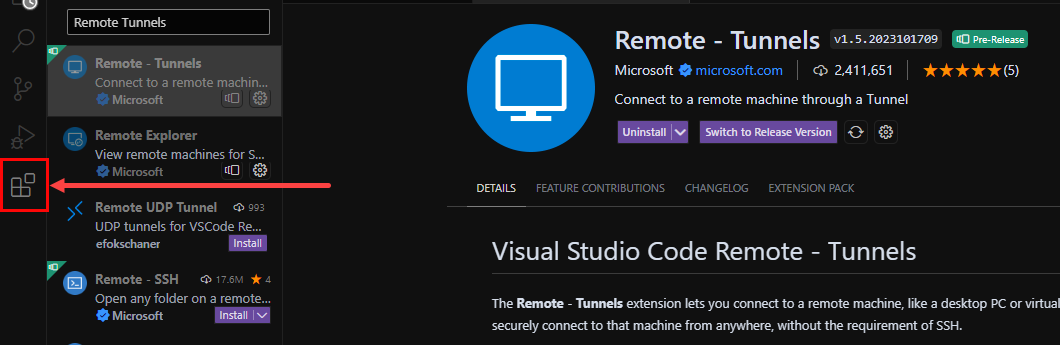
Extensions icon
In the Search field, type Remote Tunnels.
Click on the extension.
Click on Install in the Extension page.
You will be asked to authorize Remote - Tunnels using GitHub. This typically only happens on the very first connection.
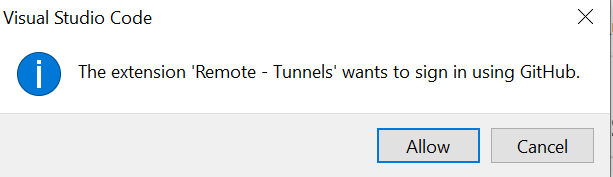
Allow extension
Follow the prompts. Depending on how many organizations you belong to, there may be several pages. You do not need to authorize any of your other organizations. Just allow Visual Studio Code to talk to your instance on Intel® Tiber™ AI Cloud.
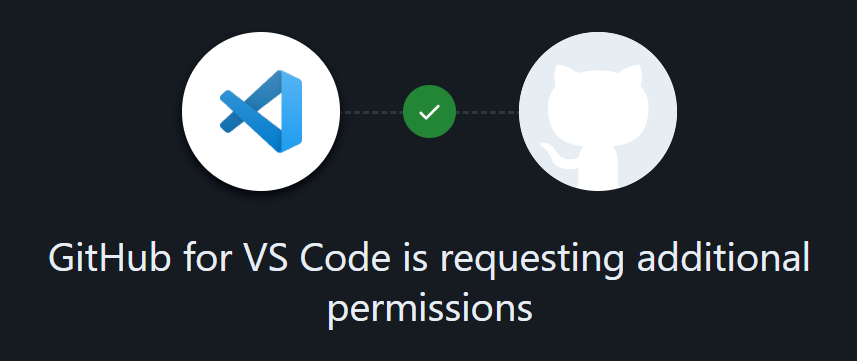
Approve access
From the app, enter F1. In the field at top, type Remote - Tunnels: Connect to Tunnel. Select the name that you gave your tunnel. This example uses “vscode1”.

Type F1 and select Remote Tunnel
There will be one final authorization. Don't forget to check the box or you will be asked again.
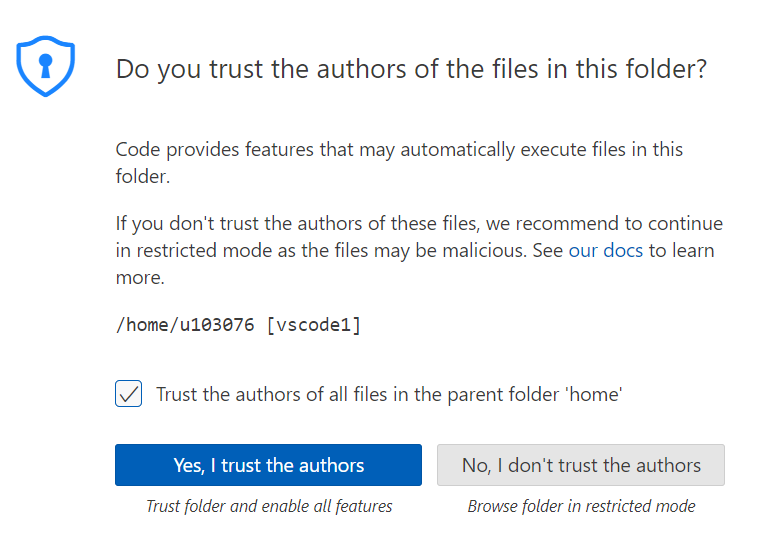
Select checkbox and click button “Yes, I trust the authors”
Now you should have a successful connection. In the future, just log in to Intel® Tiber™ AI Cloud, establish a tunnel, and connect using F1 and Remote Tunnels.
Next Steps
If you choose to launch a Jupyter Notebook from Visual Studio Code, you may be asked:
To install extensions or plugins (to support running the Notebook).
To “Type to choose a kernel source”. For the kernel, type “base”.
Troubleshooting
Problem |
Solution/Command |
Comments |
|---|---|---|
Experiencing problems with Terminal running the Remote Tunnel? |
|
This stops currently registered tunnel. Follow instructions to restart a new tunnel. |
Encountering issues with a corporate VPN? |
Log off of your corporate VPN |
A corporate VPN may require special configuration; therefore, we recommend not using it. However, consult your sys admin. |
Resources
See also Developing with Remote Tunnels